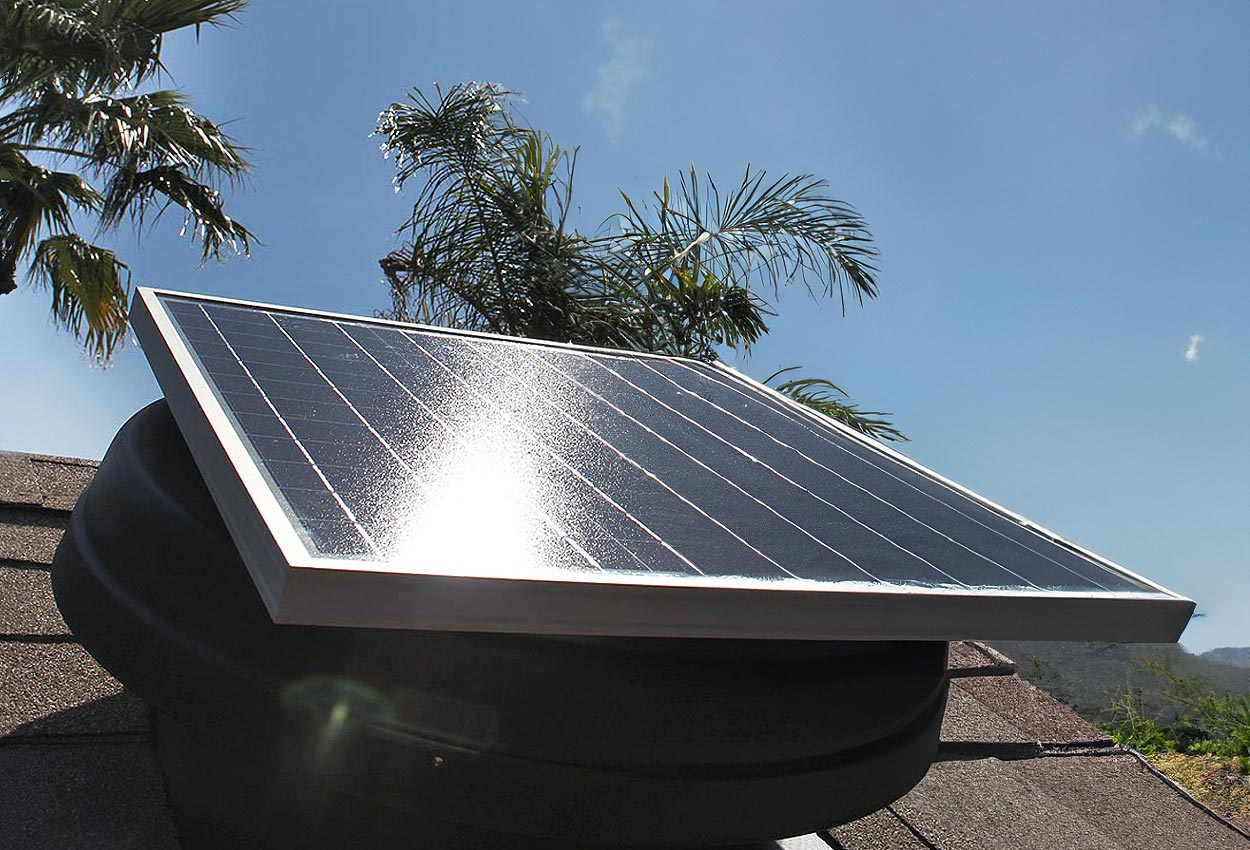
Installing a solar attic fan is a job best left to the professionals, but if you are choosing to do this as your next DIY project, we’re here to give you a five-step guide!
Solar Fan Installation Steps
Follow these steps for any solar attic fan installation projects:
- Choose The Right Solar Attic Fan.
- Evaluate Your Attic’s Ventilation.
- Solar Attic Fan Has To Be Grounded.
- Seal Attic Off From Rest Of The Home.
- Place Fan On The Roof.
Choose The Right Solar Attic Fan
This seems obvious, but choosing the right solar fan for your home can be more difficult than it appears. First, determine how large you want the fan to be atop your roof. Typically, either a 10-watt, 20-watt or 30-watt fan will work best for most homes. The professionals suggest you choose a solar panel that doubles the output required by the fan in use.
Evaluate Your Attic’s Ventilation
Any solar attic fan that you choose to install has one goal: to take the hot air out of your attic. So, what replaces this hot air then? Most lofts will feature ventilation points typically located at the eaves of your roof. Look for this in the bottom corner of the roof. Make sure your attic has the proper ventilation to take in cool air after the hot air has been transferred outward.
Solar Attic Fan Has To Be Grounded
Your solar attic fan will contain metal and be placed atop your roof. That means you will need to protect it against any potential lightning strikes. Protect the area by grounding the fan with a grounding wire, ensuring a correct connection. This is a crucial step in the installation process.
Seal Attic Off From The Rest Of The Home
One of the very few complaints regarding solar attic fans is that they will draw up the cool air and increase the workload of the home’s cooling system. Make sure there is an airtight barrier between the attic and home to prevent this from occurring.
Place Fan On The Roof
Finding the perfect spot on the roof to install the fan is very important. Solar panels pointing south will generally receive the most sunlight possible. If this isn’t possible, try to purchase a fan with tiltable panels.
Solar Attic Fan Installation In Arizona
If this seems like too difficult a task to perform yourself, then contact the professionals at Elite Solar Systems in Chandler, Arizona. Our company currently offers installation services across the valley for 10, 20 and 30-watt fans.
Elite Solar Systems can install the perfect fan for your residential or commercial needs at affordable rates. Contact us for a free estimate today!
How Much Does Solar Attic Fan Installation Cost?
Solar attic fan installation costs $675, on average. Typically, prices will range from $575-$775. Wall mounted solar attic fans come with a cheaper installation cost of $650. Gable mounted fans, meanwhile, will start around $250 for installation.
Elite Solar Lighting & Fans Is A Solar Tube Installer Located In Arizona
Elite Solar Lighting & Fans offers residential and commercial solar tube installation services throughout the entire united states, including Arizona, California, New Mexico, and more.


